This is the dyed merino wool top from this post.
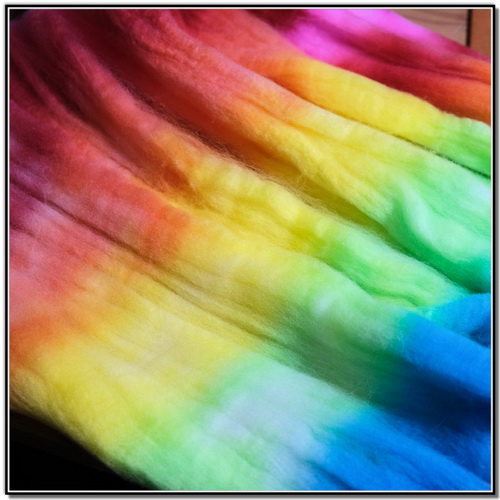
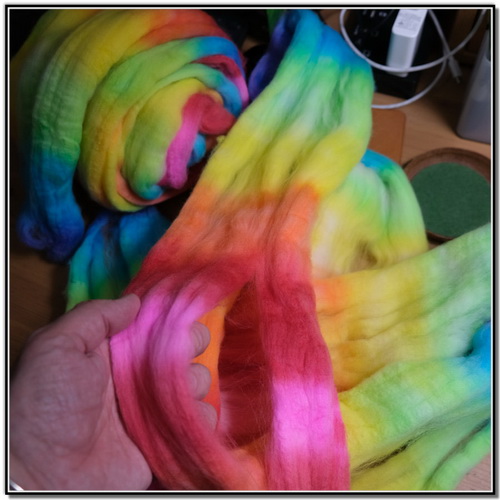
This is the hand-painted merino wool top once it’s been thoroughly dried. It’s a super long colorful fiber snake. I get this fiber from a particular distributor from Boston, so I’m familiar with how to handle it once it’s dyed.
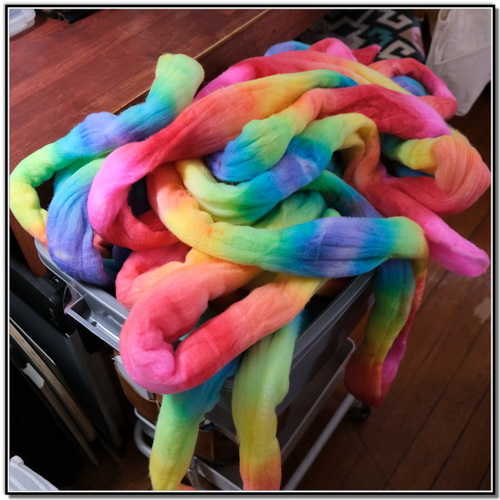
I will take to fiber snake and lay it out on the table and unroll it. When it goes through the carder machine at the factory, it’s done as a flat. It then gets coiled into the familiar roving-looking rope. I carefully unfurl it to inspect it for anything irregular in either the fiber or my dyeing.

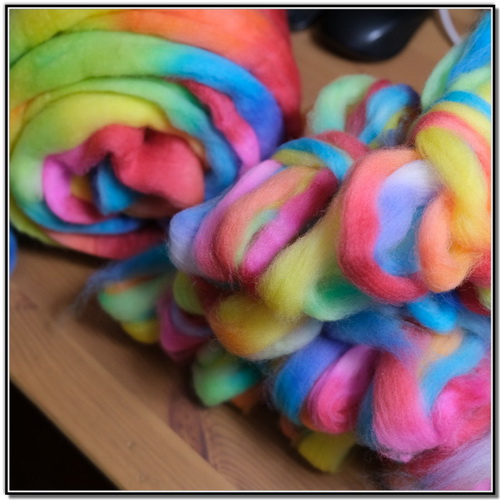
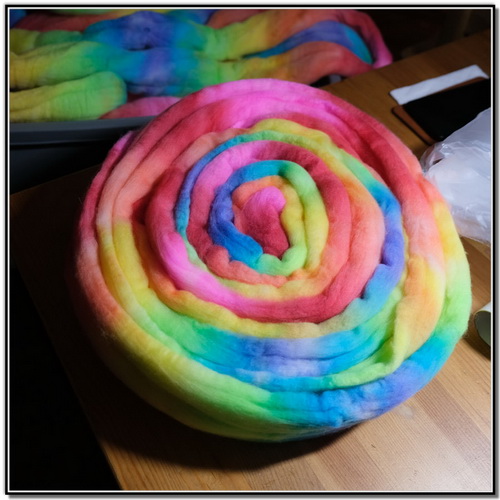
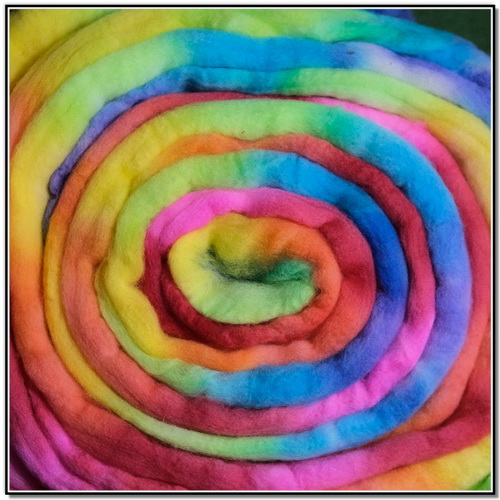
As I go along, I start making the giant colorful coil:
On this particular hand-painting, I used a little more acid in the dye and that made the dye strike in an exact spot. No traveling. Which means that it didn’t blend as much as it could have, but I’m happy with the results.
Look, the coil again! You can never see this enough!
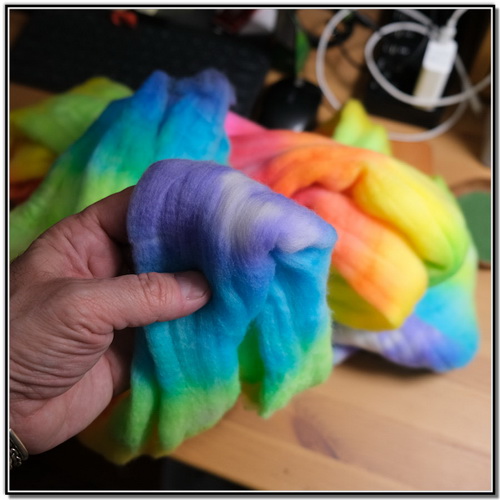
OK, back to the inspecting. That little white spot! Is that ok? I’ll let it pass, it will just make it a pastel lavender.
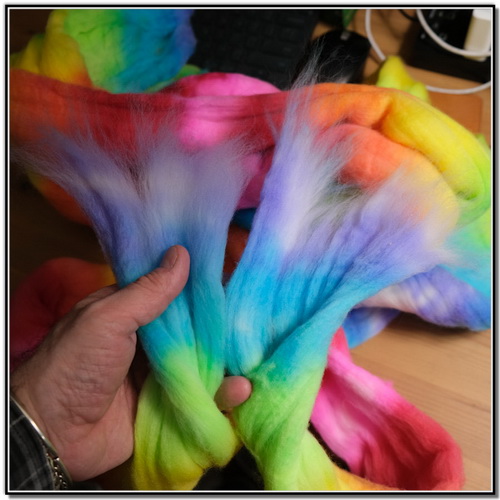
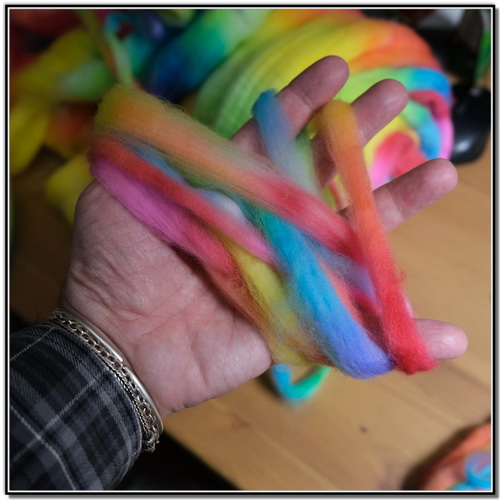
Once inspected, I’ll split the fiber snake in half. When I hand-paint the fiber, there is an actual literal middle, just for this reason. Sometimes I’ll put a tie there to mark it. The reason for this it to have two equal pieces for plying later. The colors should remain fairly similar, and optical blending will happen then.
The two halves are then split vertically into my spinning butterflies.
This is how I wind the butterfly, making it easy to spin. The short runs of color will give a shorter length of each color. If you want longer runs of color, just keep these thinker. Does that make sense?
The butterfly bundles begin. When I’m spinning, I just want to SPIN!
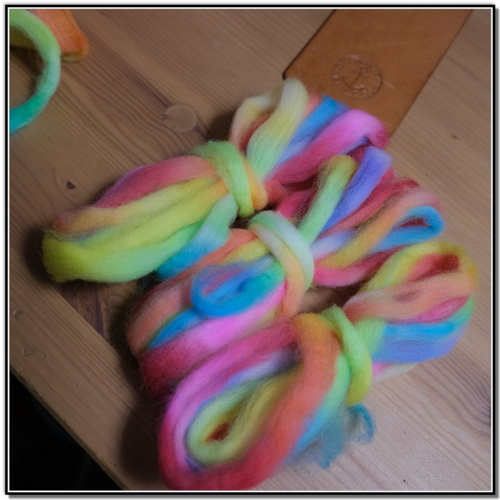
This is enough to get started, I want to hit the wheel and relax.