
This is my documentation of the Leather Pendulum Board Case for the Pendulum Board I purchased off Etsy from Woodland Woodworx. (Original listing.) Living in an old funeral parlor in the Pioneer Valley of Western Massachusetts kind of requires adding this to the arsenal of other ghost hunting and paranormal tools. Cherry and walnut are my favorite woods, too.
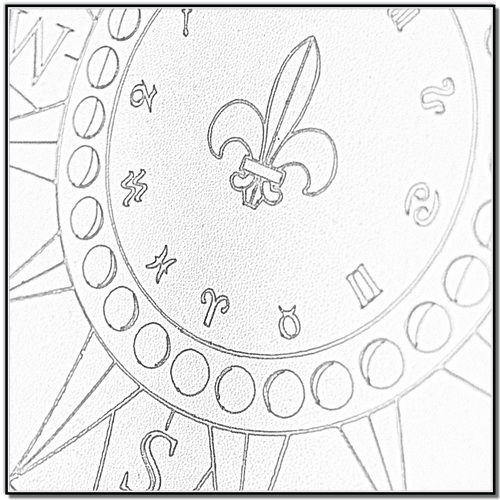
This design spoke to me since it so closely resembles the one I designed for Luna Mystica, below. Mine was based upon a mariner’s compass.
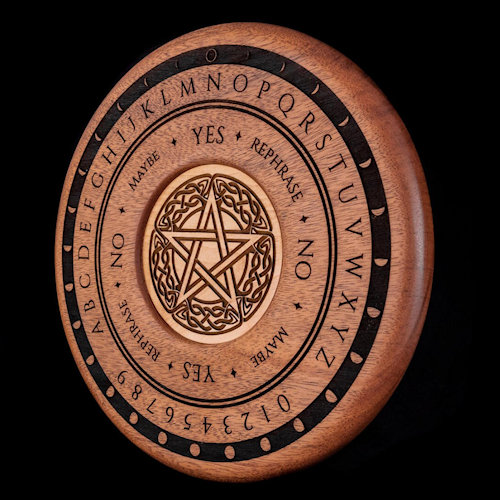
This is the engraved solid mahogany pendulum board with maple pentacle inlay:
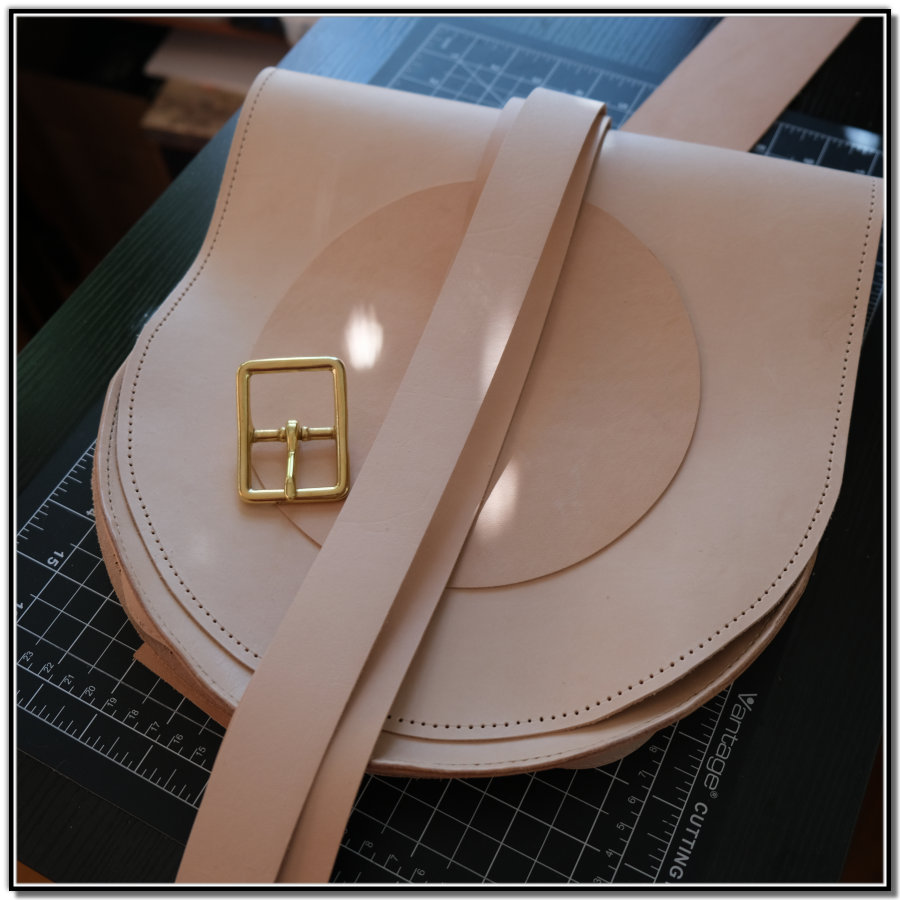
The original concept was to do a round-bottom horse’s saddlebag. It needed to be roomy, not snug. I always tend to carry more than needed, so an adjustable simple strap closure would be great. A small back pocket, too. I wanted it to have a lot of hand-stitching since this was a one-of-a-kind piece.
Playing with the initial main pieces to see where it wanted to go:
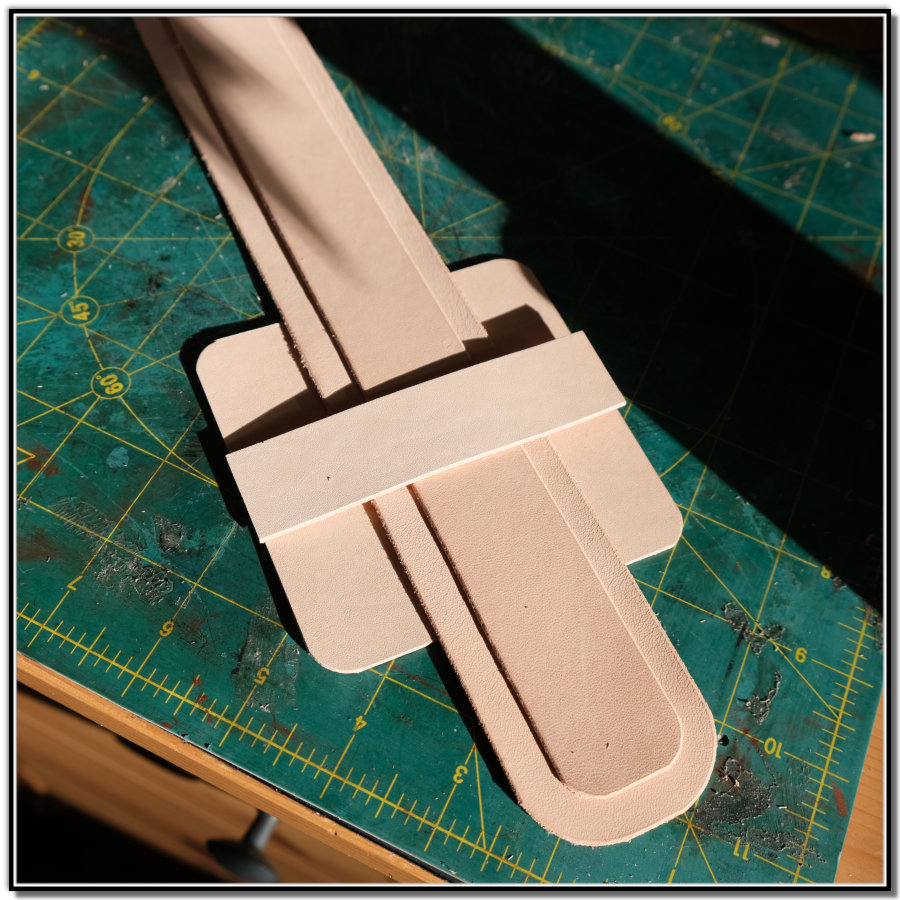
Playing with geometric shapes can be so inspirational. A strap idea:
The base body parts are cut, holes punched and ready for more work. The stitching can’t begin until the closure system is defined. I tend to think this part through versus impulsive designs.
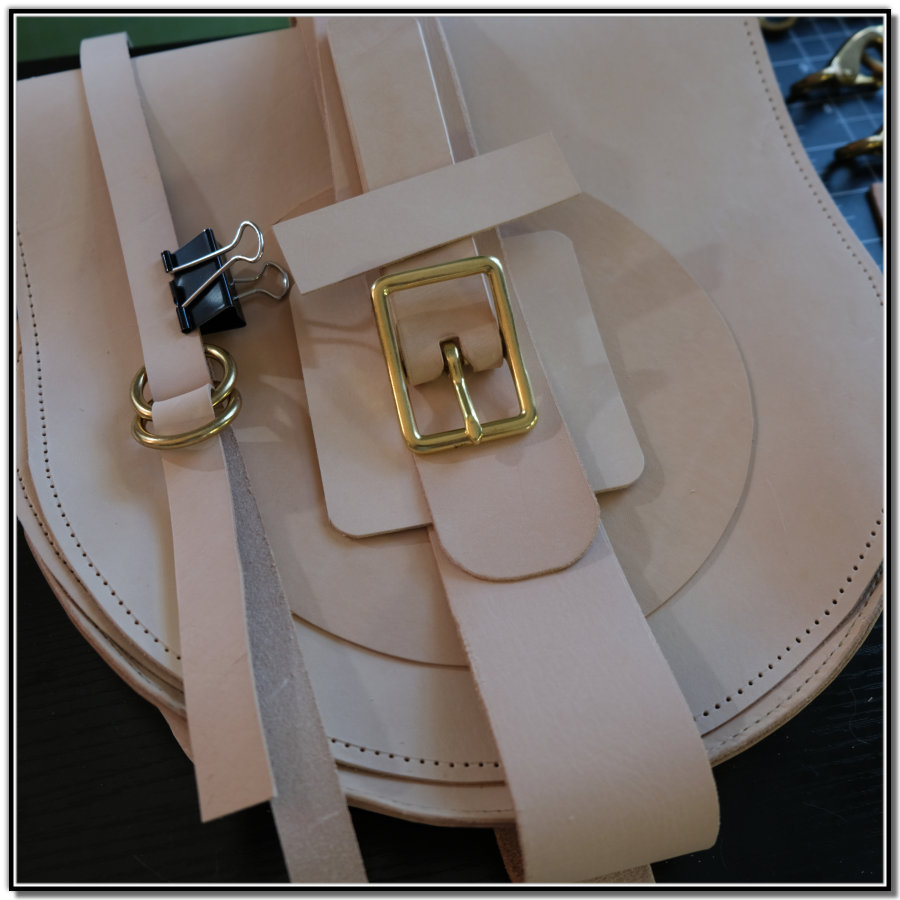
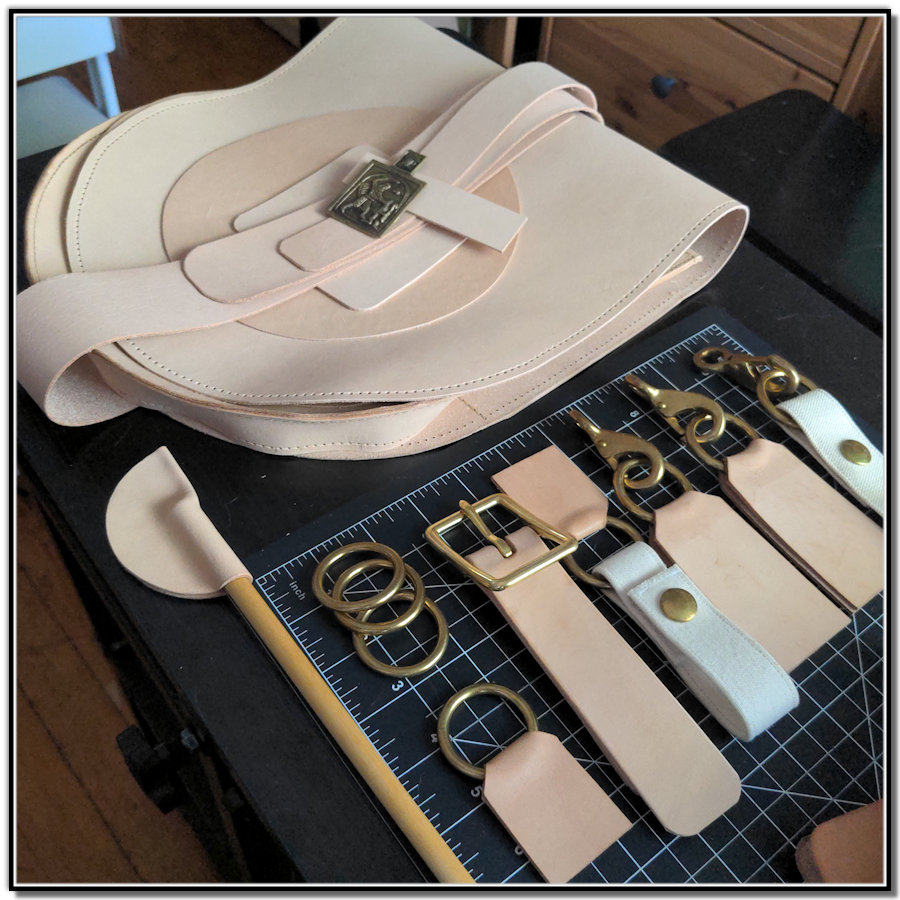
Auditioning parts for the straps and closures. SO many options!!!
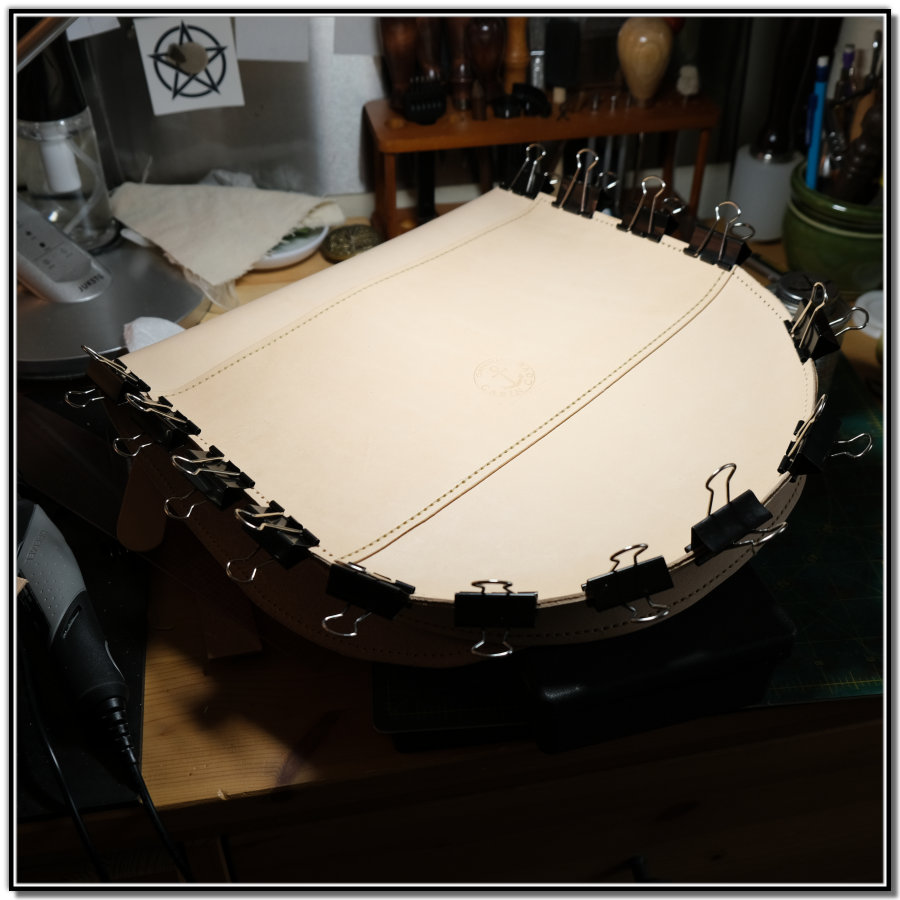
Clamping all the parts together with binder clips once the edges are glued into place. This is the back with pocket:
Wet-formed and drying, this is the back with the hand strap:

Wet-formed and drying, this is the front:
The wet-forming is to allow the piece, the pendulum board, the fit more snugly and adds a nice bit of dimension.
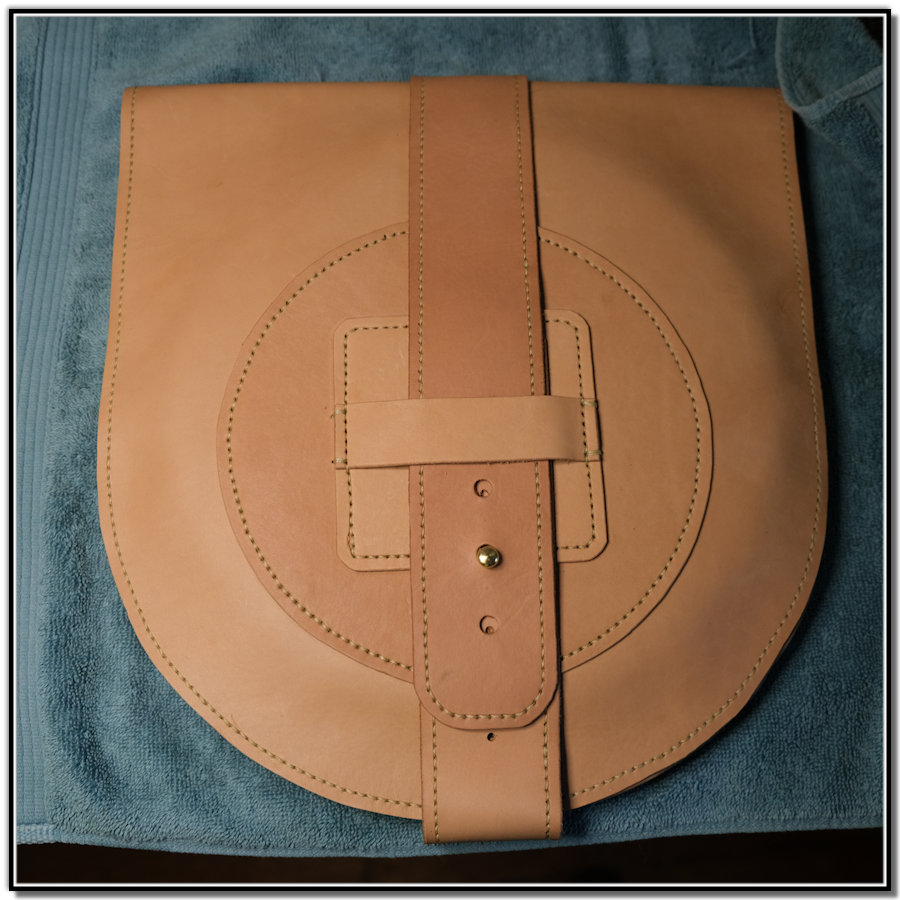
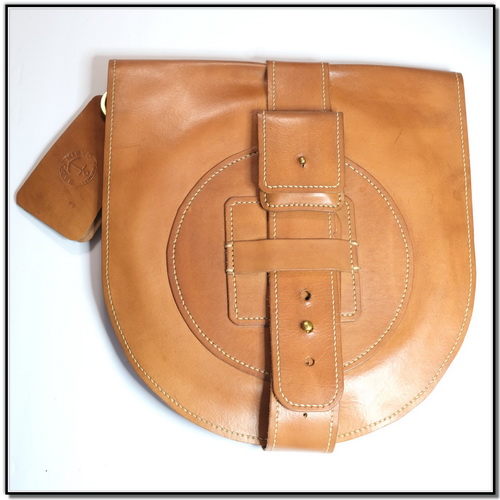
And, presenting the final case!!!!!
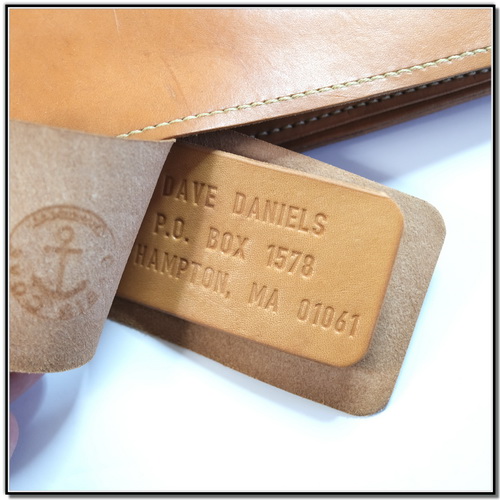
A folded leather address tag on a brass ring:
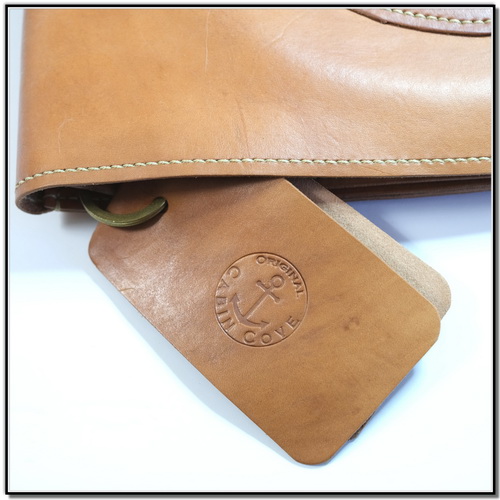
My address, hand-stamped. I LOVE this detail.
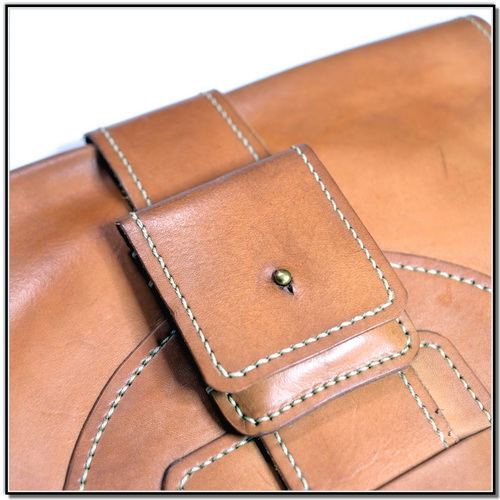
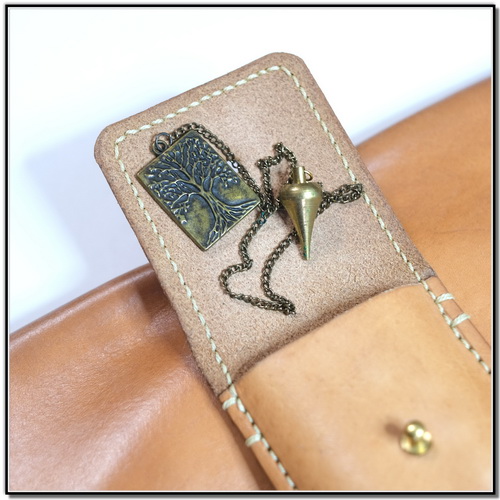
On the closing strap is a small case to hold the pendulum. It’s got slits in the back so it can slide on the strap.
The long brass pendulum on a chain with a tree medallion on the end:
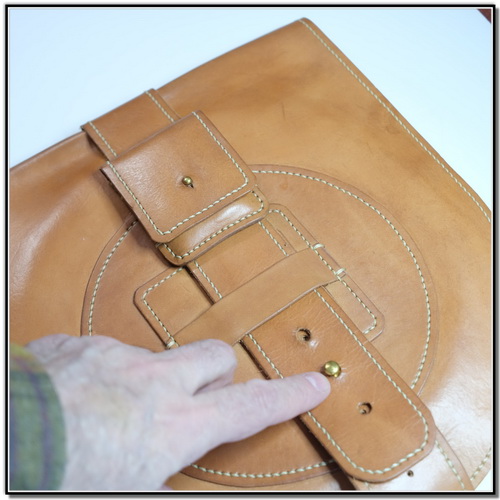
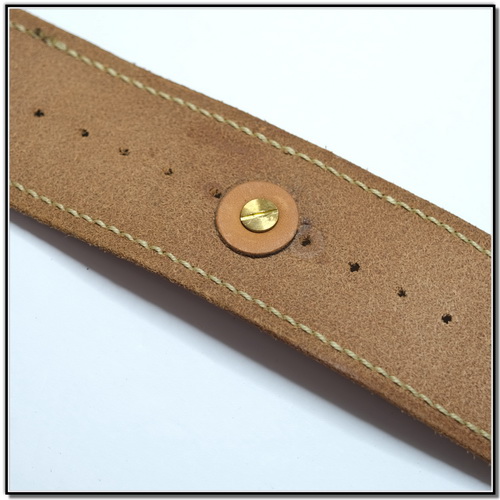
The closing is just a pair of overlapping straps held in place with a brass button and belt loop:
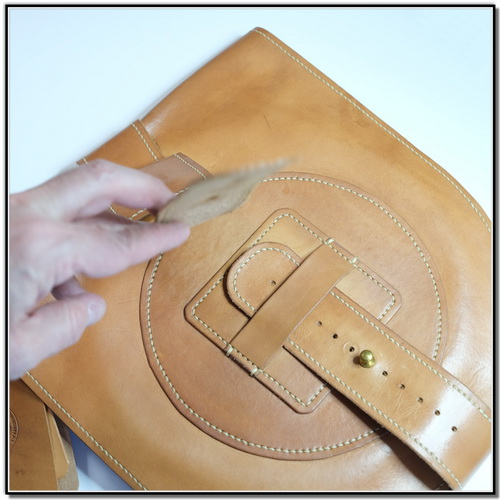
Just lift the first strap:
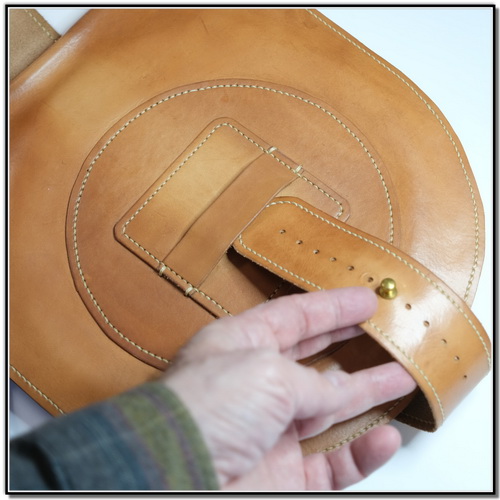
Slide the bottom strap out from the belt loop:
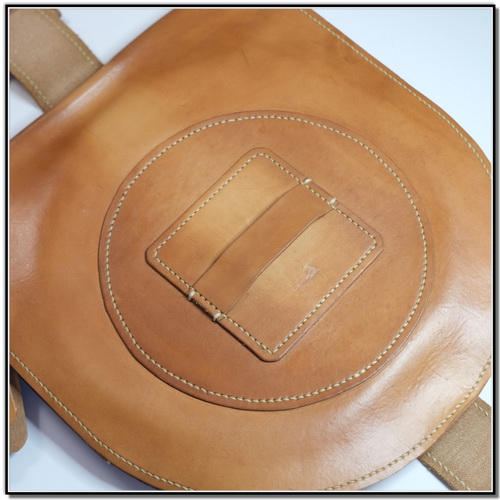
And, that’s it! The various geometric shapes are interesting and add padding to the front of the board:
The front straps have extra holes to make it adjustable.
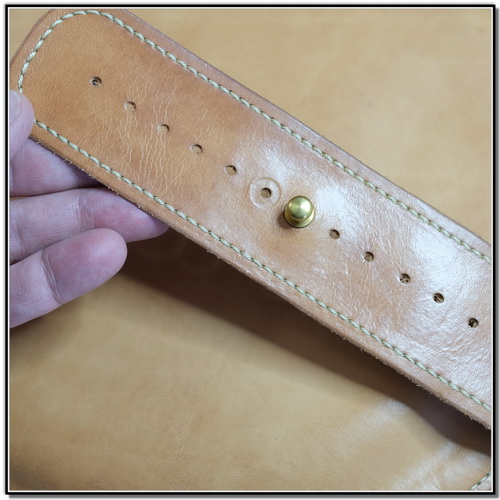
Just move the brass button using a screwdriver:
And, finally, revealing the board from the case:

Overall, this was a fun project. I enjoy challenges like this because it requires taking risks while using my experienced skills to achieve the results. The level of hole-stamping and hand-stitching was a new high for me.
Oh, and to carry it, just slip your hand into the strap on the back. No shoulder strap, it’s not that kind of case, and should be in the hand at all times and not carried on the shoulder.