The herbs in the garden are really growing and in serious need of a trimming. Bring in the food dehydrator!
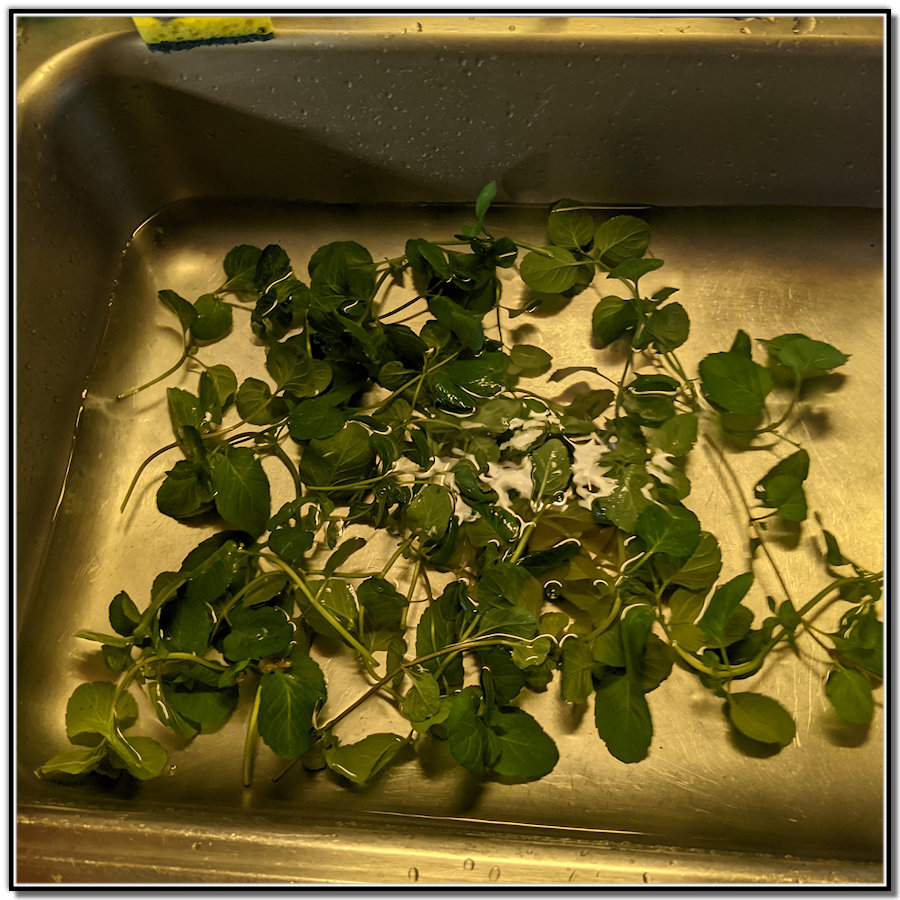
To prepare the herbs for drying, I wash the branches in warm water to remove any dirt and bugs that may be on them:
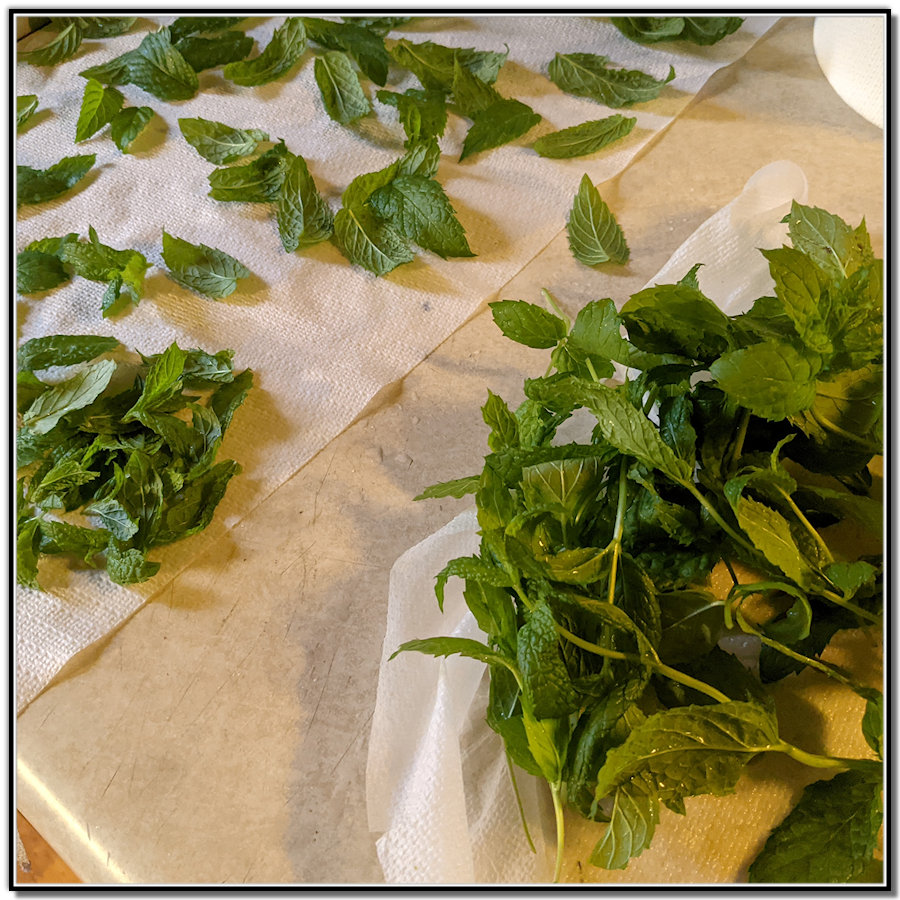
Once the branches have had a cleaning, they’re moved to drying towels and the leaves are pinched/snipped with scissors with no stems:
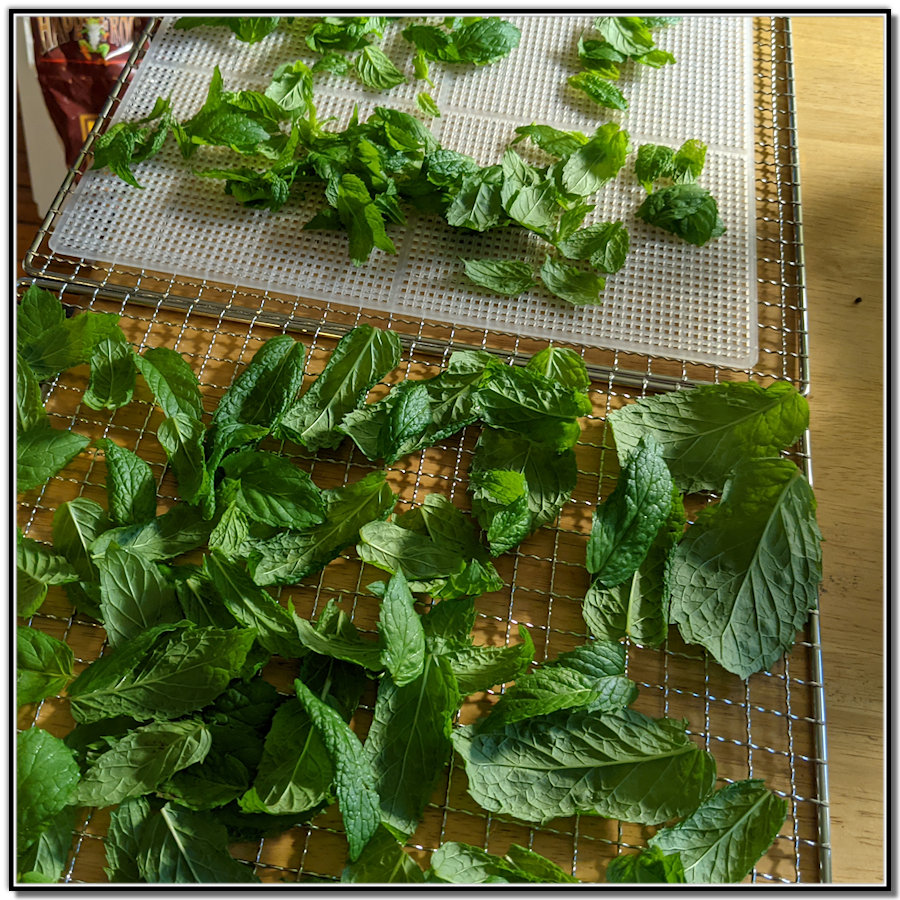
Then, I carefully spread them out on the plastic mesh screens. They look so much like plastic needlepoint canvas, don’t they? They’re not, so don’t make that mistake. The plastic dryer sheets should be BPA-free plastic dryer sheets because, when they are heated in the air dehydrator machine, you don’t want those chemicals contaminating things.
OK, back to the herbs.
Generally, I prefer to have the leaves top side down because they will continue to curl as they dry. If the leaves are too tiny and you want to leave them on the branches, no worries, just spread them out so they get enough circulation. I don’t get too anal about it because I’ll open and check them as they dry, moving pieces here and there for circulation.
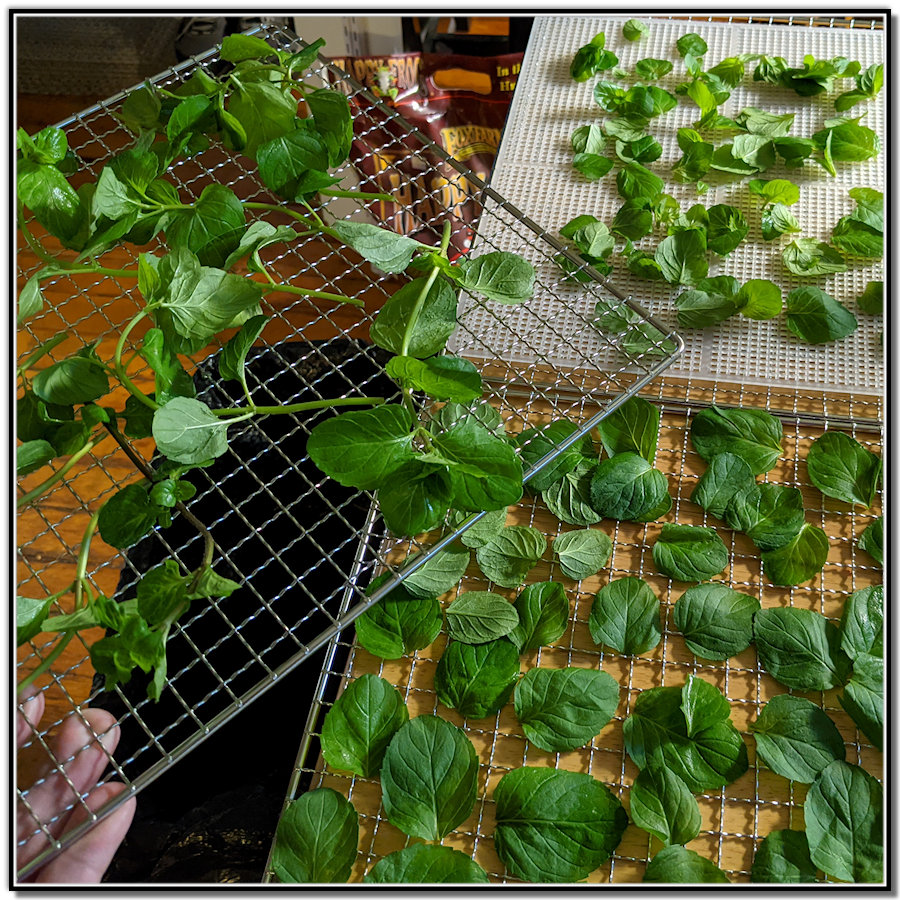
Using the plastic mesh screens isn’t a requirement, either. If the leaves are large, or you’re using whole stems, just lay them on the metal racks without the plastic screens. Guaranteed better circulation.
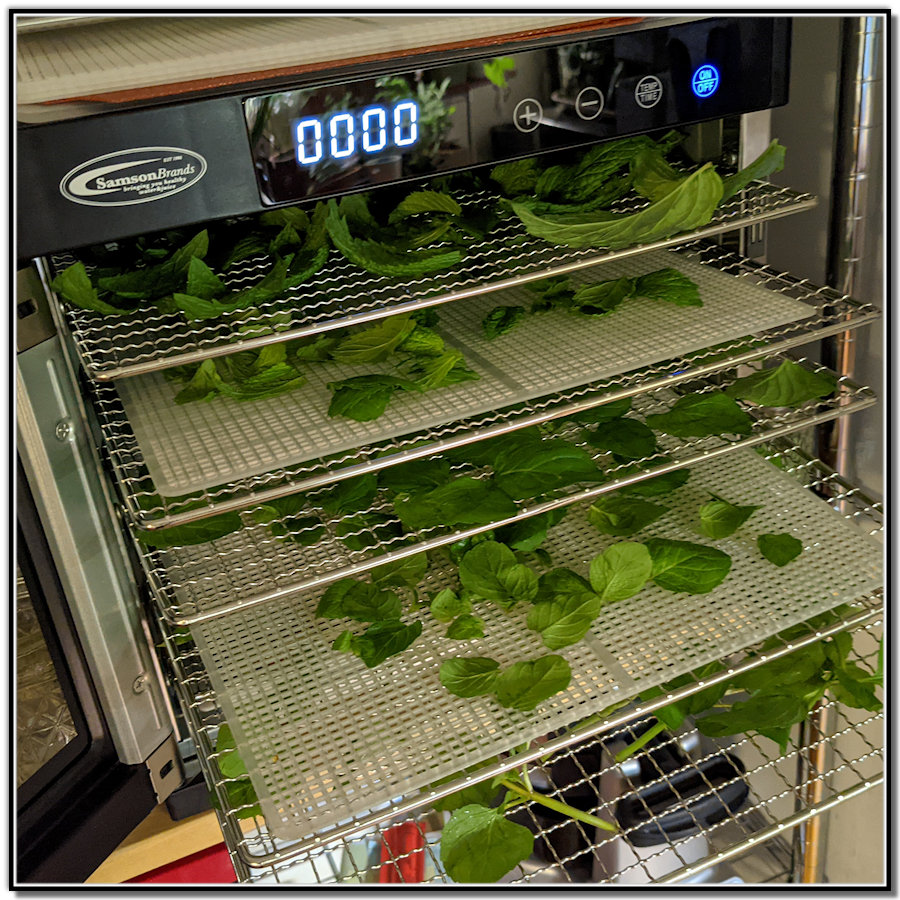
In this machine, the heating fan is in the back, and all the shelves get air evenly from the rear. The machine vents out from the front left and right side. Those are the vent gills, below. I’ll remove those bottles later for better circulation on the outside. The air blowing out does get warm, but not really hot.
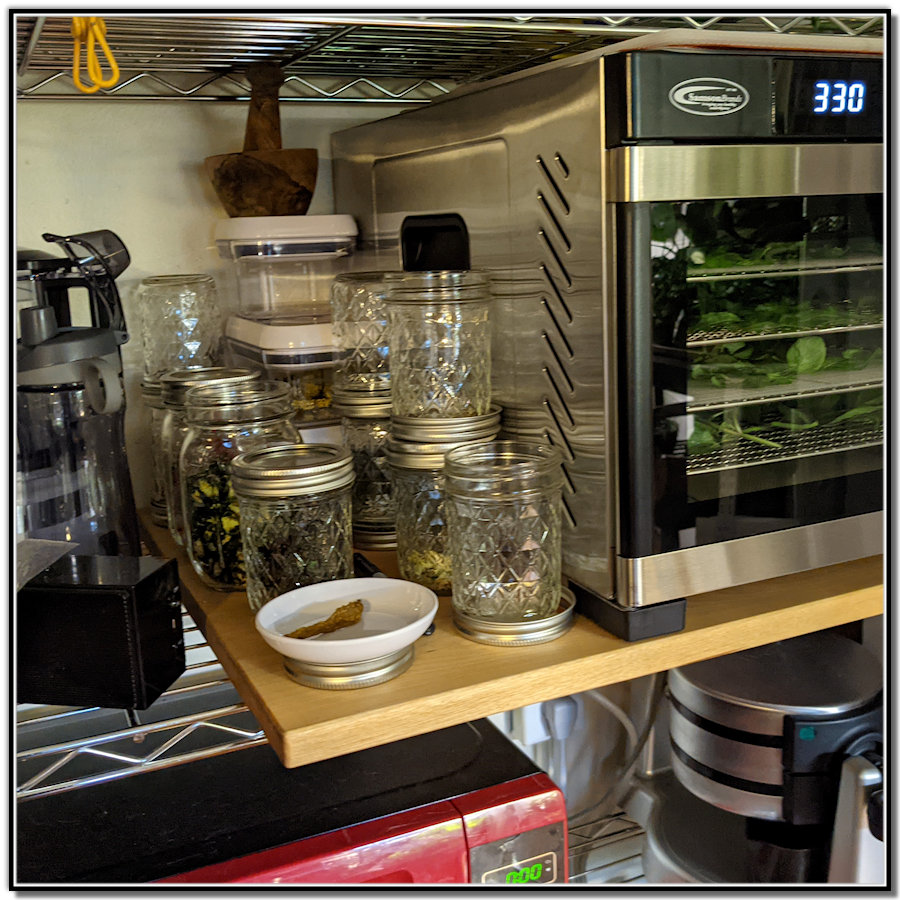
In just over 45 minutes, the first batch was out and cooling. It crumbled nicely.
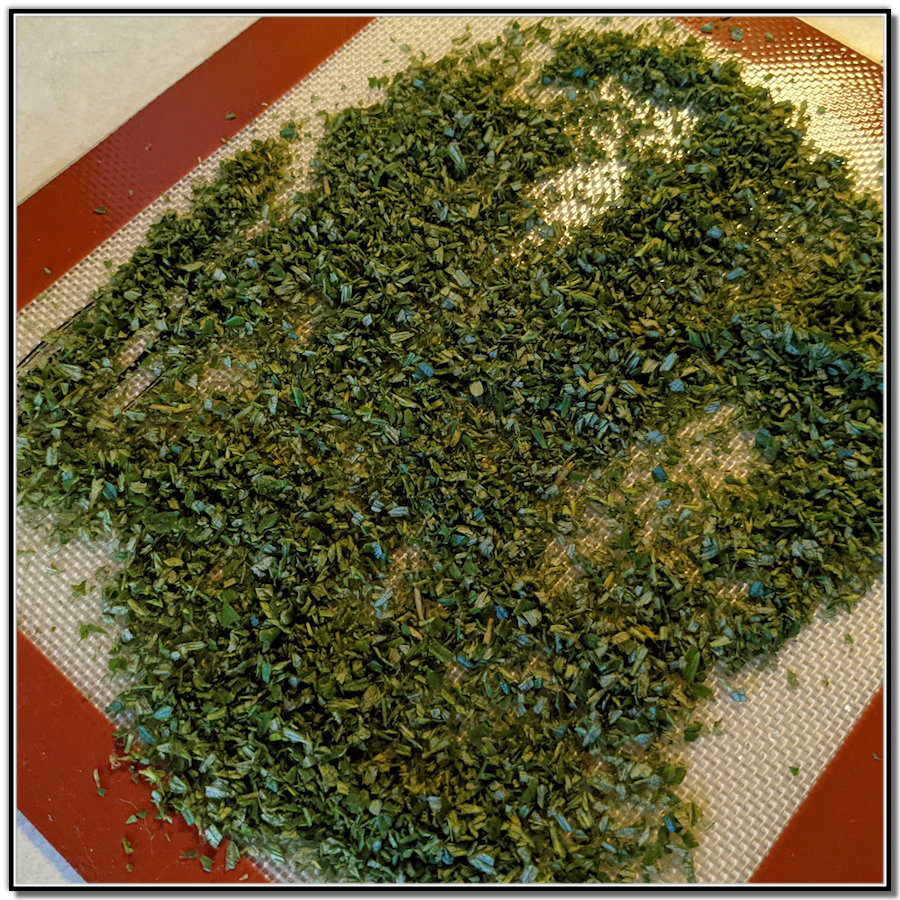
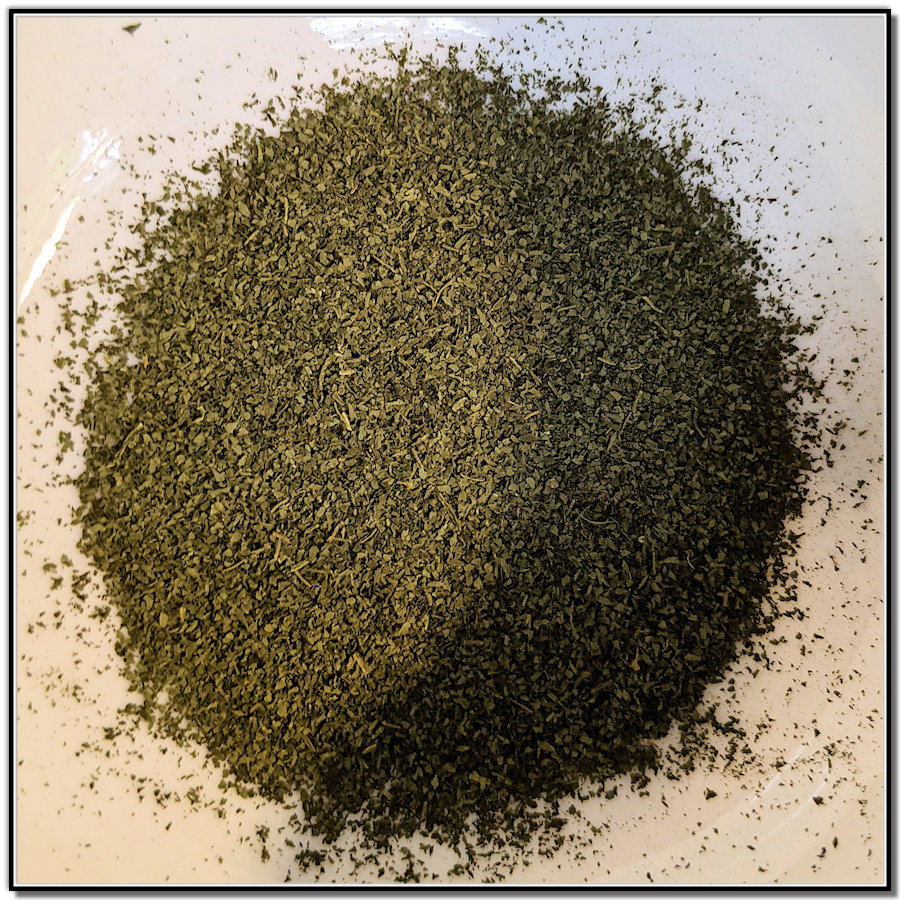
A quick trip through the ceramic grinder and I had genuine powdered basil.
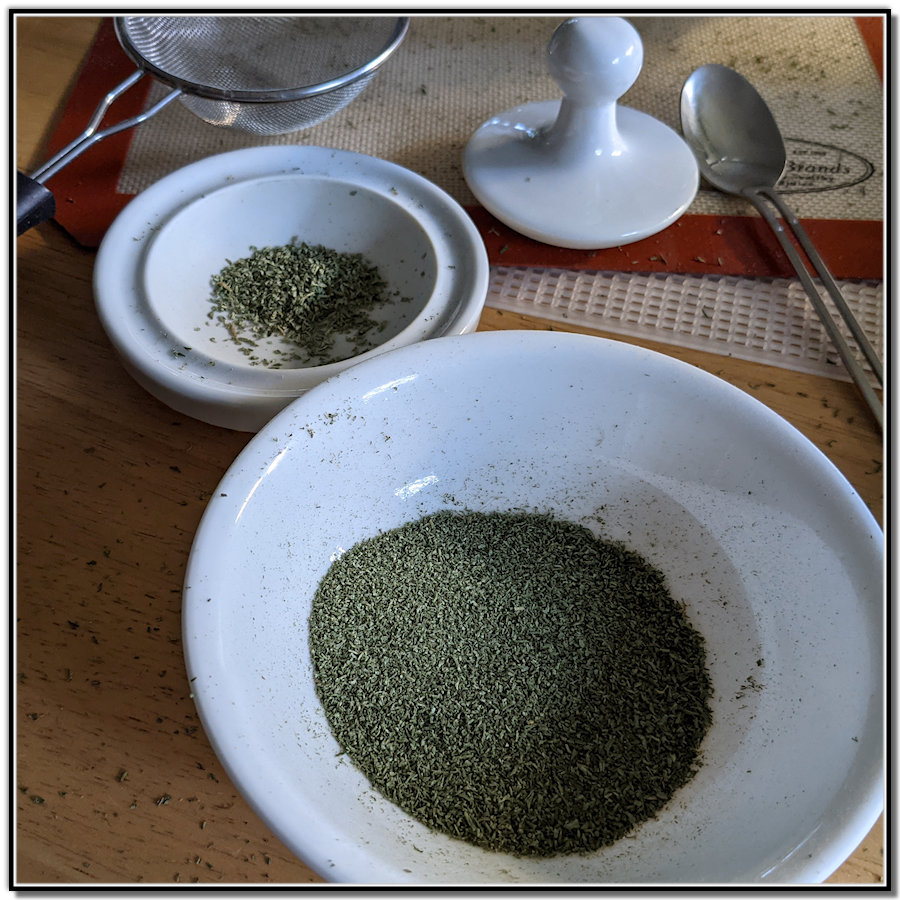
Not a bad texture at all.
If you have any questions, let me know in the comments section below.

